Thursday, September 8, 2011

First Job in the new shed.

Its been a few weeks since Ive made a post so here goes.
Ive been very busy with moving here to the new house and working some very long hours with the new job.
Ive managed to partially set up the new workshop but its no where near organised yet!

Tonight I completed the first job in the new workshop. I made up a very simple tool to remove some stuck injector cones in an Injector.

To cut a long story short ive been having a fair bit of Injector trouble with my loco 1248.
At the easter AALS convention at Edgeworth I purchased two Injectors from a supplier that was selling various parts at a trade stand there.

The first injector was a Warrick Sandberg injector. I baught this one because Warricks injectors have an excelent reputation for reliability etc, So I figured I would buy this to hopefully solve all my injector trouble...... When I baught this injector from Oldmate with the trade stand he told me "That injector is untested and brand new but doesnt come with a test certificate like my ones do".
Anyways I tried the injector on my engine straight away......No go it didnt work.
So i fitted the other "cheep" injector and continued to keep running.

Now a few months have past and I happend to be speaking to Warrick and mentiond that I had purchased one of his injectors from Oldmate, and he replied "ive never sold him any of my injectors, let me see it" so he had a look and within seconds said "well I can tell you this is not brand new".
Im not impressed that Oldmate who had the trade stand has sold me second hand parts knowing they are second hand and tell me they are new.........


The Sandberg Injector.


Today I was speaking to Warrick about this injector and what could be wrong with it. He told me an idea of a way to get the stuck cones out to work toward getting to the bottom of the problem. So after work tonight i made up the little gadget to get the cones out.
Ive used a piece of scrap steel to clamp onto the cones to remove them without damage.


The injector cone remover gadget shown clamping a cone.


So now its apart tomorrow its back to the drawing board to work it all out.

During the week Ive also had various other parts turn up in the post for different projects that I have on the go. I had the rest of the Warm white LED globes for Lower (and maybe Upper) Quadrant signals, And the remaining parts that I was waiting for from railcraft for the PV.
Allthough only a couple of parts turned up I thought I might show you some of the parts ill be using on the Van.

PV parts from Railcraft.


Thats about all for now. I hope to keep moving with the PV soon. Id like to see it finished.

Sunday, August 7, 2011

4 Wheelers

Well theres plenty going on at the moment.
On Thursday I had a phone call from the Real estate to say that my application has been approved. Tomorrow I go down there to sign all the papers and get the keys. The Waratah Wagon and loco shops (Western Division) can start setting up shop tomorrow.

This morning instead of packing box's of stuff for the move I decided I would attack the two Warrick Sandberg S trucks I have and do those last couple of jobs needed to finish them. One of the S trucks Ive had running for a while, but the second one has never hit the tracks yet.
This afternoon I fitted handbrake wheels and release's on both wagons as well as the shunters hand rails.

Handbrake fitted to the second wagon.


I attacked the second S truck first. The parts used for the handbrakes have come from Railcraft, and are excelent products. The handbrake wheel is lazercut from steel and the ratchet and handle are made from polyurathane.


The finished products on both wagons. Both are now fitted with handbrakes and shunters handles in the body.


The photo above best shows what I achieved today. As they say in the classics "a picture says a thousand words".
All that remains on both S Trucks now is a final coat of NSWGR wagon grey and lettering and numbers.

During some spare time last week I managed to get a few bits and pieces done on the PV underframe.
All 4 axlebox's have been filed to suit the w irons and all now fit. Just a few small bits need attention before the underframe can be sent to Oldmate Welding PTY LTD for welding (welding aluminuim is a bit beyond my welding skills).


         Allmost ready to go PV underframe.


The above photo shows the PV underframe. I have used railcraft axlebox's and bearings with Warricks S truck wheels and underframe and the combination of these is 100% PERFECT. The underframe needs no modifactions to recieve these axlebox's. All that you need to do to make them fit is file the axlebox's down a little and out where the box's slip into the W iron. Perfection.......


Well thats all for now..... The big move starts tomorrow........

Thursday, July 28, 2011

Packing up.

Yesterday I flew back up to Qld and returned to Toowoomba to collect the remainder of my things and (most important of all) my XR6 ute.
Today I made a quick dash out to the outlaws place (thank god none of them were home) to finish up the PV van wheels, as I now loose access to a lathe until I buy my own. So today was the day the wheels had to be finished.

Completed PV wheels.

As I mentioned earlier on in the post I have returned to Toowoomba to pick up the rest of my gear that is at my girlfriends house. I now have a job back in the home land of NSW where I have begun working for a company that repaires and maintains diesel loco's for SSR and IRA.

I have spent the afternoon packing up the tools and material that I have in the shed and tomorrow Ill pack up the rest of my stuff in the house and load up the XR6 for a early morning departure on saturday for Sydney.
So next week its back the real estates where I hope to rent a house soon and set up the new Waratah Wagon and Loco works (Western Division).

Monday, July 11, 2011

The Prototype and the Model.

On the weekend that has just past I Travelled to Robertson on 3642 as apart of the NSWRTM's "Southern Highlander". It was a great trip a fun day was had by us service crew and the loco driver and fireman as well.

I managed to take a couple of photos in between attending to the needs of 3642.


3642 has been prepaired for the run to Eveleigh. 8.7.11


3642 has been watered, banked and shares the roads outside the LES at Eveleigh with Goodwin-Alco group's 4486 and 4473.


Goodwin-Alco's latest loco to return to trafic, 4464 poses with 3642 out the front of the LES.

Standing at Robertson 3642 has been serviced and is ready to return to Sydney via the south coast.


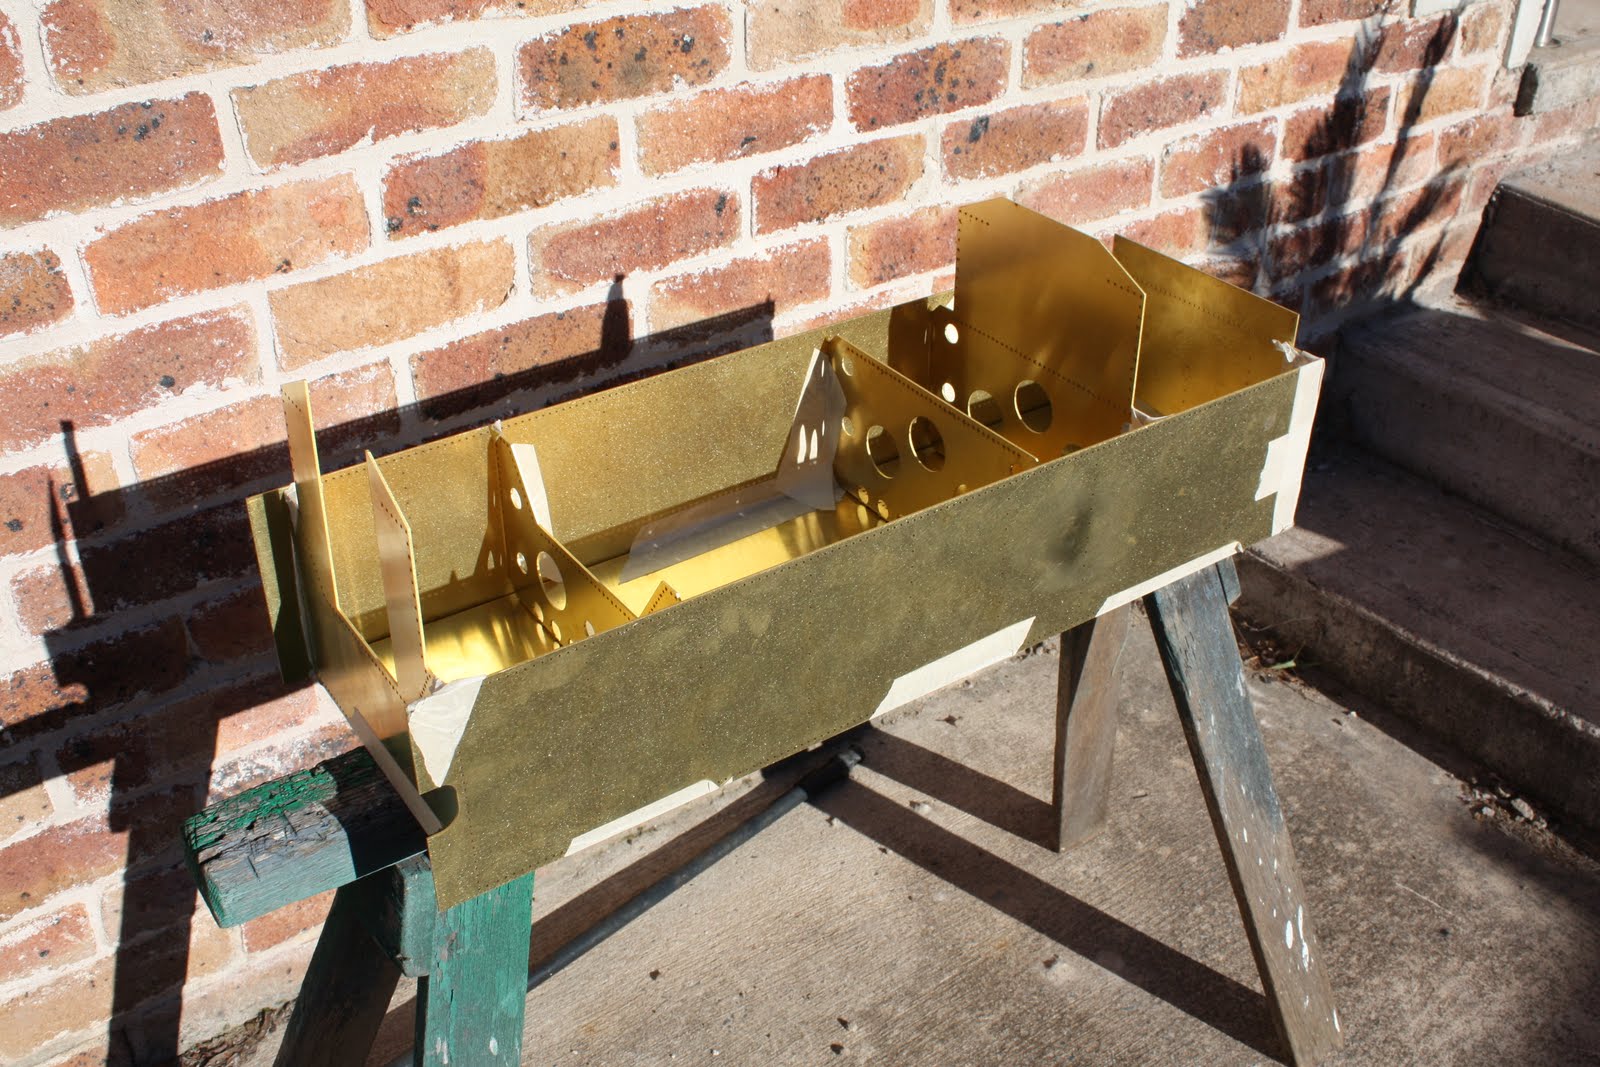
Well that was my weekend with the prototype. Now its time for the model. Hot off the press comes this photo of the latest tender progress. Here you will see that the floor pieces in the coal space have been cut out. Now its time for the fun part of tender construction. RIVITS.

Oldmate Lazercutting and sheet metal has been busy again more tender parts.


New floor in the coal space.


Thats all for now.

Friday, July 1, 2011

S Truck, PV and Tenders!

Theres been plenty going on since the last post.
Over the last few weeks Oldmate sheetmetal, Welding and Lazercutting has been busy programing various tender parts into the lazer cutter to further progress with the construction of our two tenders for a NSWGR 36 class.


Here we have the main tank and baffles cut out. Allthough the photo doesnt show it the holes for the rivits have been cut out as well.


Soon the remaining parts of the turret will be cut out and we can begin riviting both tender bodys.


There has been plenty of S truck progress since the last post. The S truck is comming close to completion,as it stands this afternoon there isnt much left to do on it.
All that remains on the S truck is: Drill holes in the knuckle couplers and fit to the wagon, Make a trip to bunnings to buy bolts to hold the couplers into the coupler pockets, Fit dummy hand brake wheels (this wont happen until later because those parts are in Toowoomba....) , final coat of paint and lettering and numbers. I think the photo below can best show progress.

Allmost finished! Wheels and axlebox's fitted.

We also cant forget the PV explosive van..... I now have the underframe parts for the PV. It is one of Warrick Sandbergs S truck Underframes. The parts will now have to be sent to Oldmate welding for welding before it can progress any further.


Underfame parts ready for welding.

Thats all for now. But I will leave you with this video i found on Youtube last night of me, my engine and freight train passing the cammera at hotpot.

Wednesday, June 22, 2011

A wheely good time.

So over the last couple of days theres been a fair bit of wagon progress.
I had the task of getting at least the wheels for the S truck on axles, profile the wheels and turn down the axle ends ready for the bearings before the end of this week.
The reasion I have to have the S truck wheels finished this week is because im heading back down to mum and dads place in Sydney for about 2 weeks for various things.

Anyways the wagon has to go to sydney to join the fleet, even though it isnt finished yet I will be able to complete the rest of it in Sydney.

Well the plan was to fly down on saturday..... But the ash cloud has kinda brought an end to that for various reasions i will not mention here. So now tomorrow is a trip to Sydney on the XPT for me because its fairly important to be in Sydney this weekend.

Now back to the wheels. I spent a bit of time at the outlaws on Saturday and a part of Sunday arvo on the lathe making progress on the wheels. Ill let the photos do the talking.


This photo shows the disc wheels I have chosen to use under the S truck instead of the spoked wheels that came with the kit. It fits with the prototype S truck to have disc or spoked wheels so I decided the spoked wheels in the photo will go under the PV.
The Disc wheels came with a LCH kit I baught on ebay. The wheels were faced on both sides and bored in the centre ready to recieve axles. All i needed to was turn up axles! In the photo you will see the wheels have been fitted to the axles and I have faced and bored the spoked wheels.


In this photo I am heating up one of the spoked wheels on the BBQ so I can fit the wheel to the axle.


In this photo you will see the disc wheels are all profiled, finished and painted ready to go under the S truck. The next set of spoked wheels have been roughed out and the end set is un touched and ready for profiling.


Today I managed to get the first coat of colour onto the S truck.

Well thats all for now. I had better pack for my overnight trip on the XPT to Sydney tomorrow.

Tuesday, June 21, 2011

More Hotpot Photos.

Photos from the Hotpot run are starting to be posted on the Illawarra Live Steamers picture page.

The link to the picture page can be found here: http://www.ils.org.au/picturepage.shtml

I managed to find a couple of good photos of my engine and freight train on there and I will share them here.


This photo give those who have never been to hotpot what its all about. Scale freight trains and fellow model engineers having a yarn.


My engine 1248 and my small goods train in the yard.


Over the last couple of days ive been working on wheels for the S truck and the PV. I will post some photos later.